lemmy and zoot step by step
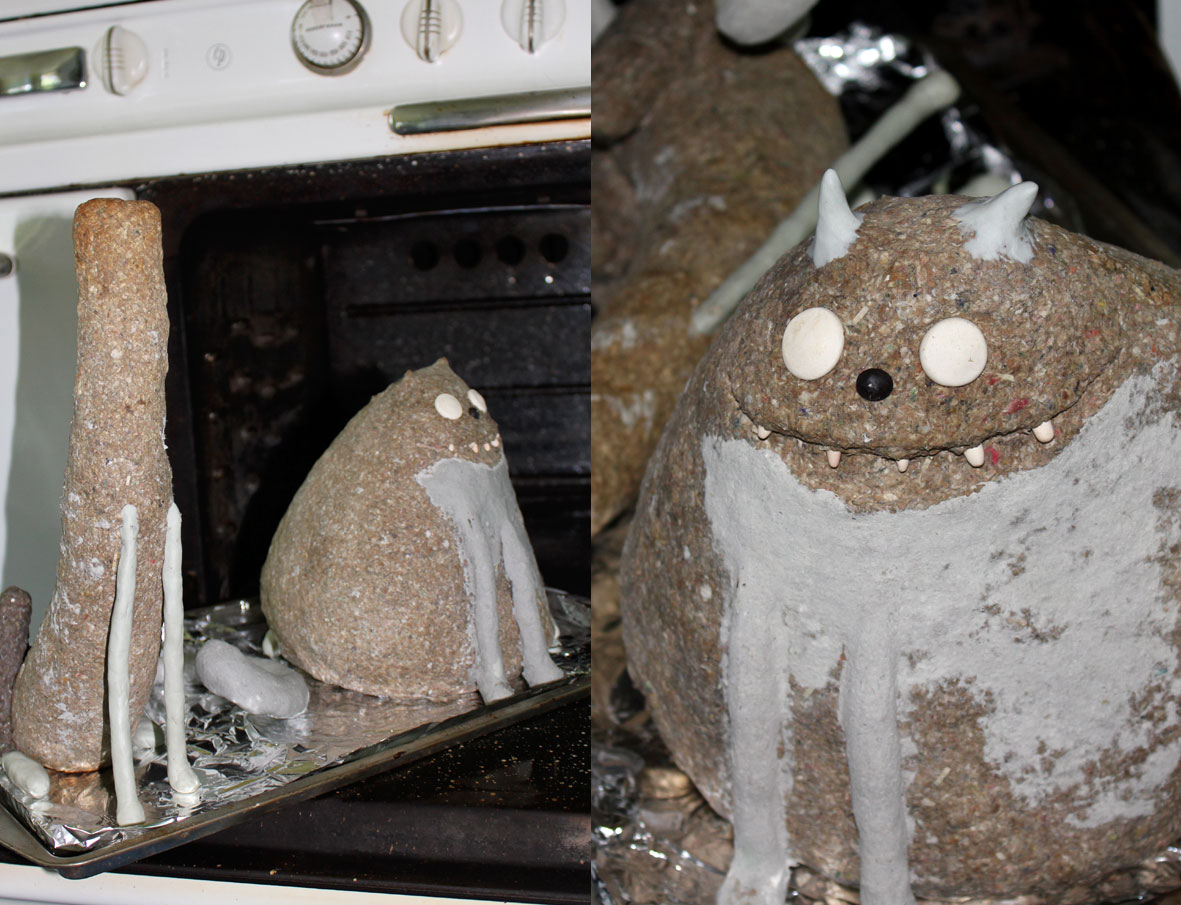
In case you've been wondering what my sculptures look like on the inside, here is a step by step documentation on the making of Lemmy and Zoot. I start out with balled up newspaper inside a cage of chicken wire, then I cover the rough shape with my first layer of paper mache. In the oven I speed up their drying time so I can get to the next step. Paper mache takes a long time to dry, so anything I do has to be able to fit in the oven. Bigger projects have to wait until summer when I can dry them outside.
Next I make some eyes and teeth out of sculpey. My scale drawing comes in handy for that. I make some extra ones, so I'll have plenty to choose the right ones from. Zoot gets a face, together with a second, smoother layer of paper mache. Lemmy has to wait for his face for complicated reasons having to do with the materials and the height of the oven. Back in the oven they go.
More bits get added. Lemmy's legs and Zoot's back legs get a layer of aluminum foil and then get covered with Magic Sculpt, an extra hard epoxy that I use for the most fragile parts. Back in the oven with them! I put a sign on the oven so that nobody accidentally pre-heats the oven to 500 degrees to make a pizza and incinerates my kitties. My family knows how to interpret signs like this.
Lemmy's tail and Zoot's front leg get a layer of a finer, harder paper mache and the lads get epoxy ears. Haunches get smoothed out. Back in the oven two more times! Zoot has quite the zombie look there.
Finally Lemmy gets his ears and face, Zoot gets a tail and they go into the oven one last time.
Next will be paint!


